CARE, SETUP & WARRANTY GUIDE
Welcome to the next generation of salon organisation. Your Pro Stylist Trolley has been designed with purpose, durability and aesthetics at its core. To ensure optimal performance and longevity, please follow the setup, care and safety recommendations below.
Before You Begin – What You’ll Need
- Philips head screw driver

Safety & What's Included
Important Safety Notes
- This trolley is designed for professional salon use only.
- Do not misuse, overload or modify the trolley.
- To prevent tipping, do not open multiple drawers at once.
- Always use the trolley on a flat, stable surface.
- Do not expose to open flames or environments above 230°C / 446°F.
- This product is not a toy — keep away from children.
- Do not sit, stand, climb or place heavy items on top.
- Do not store flammable liquids inside drawers.
- Do not leave heat tools unattended while powered on.
What's Included
Trolley Body & Essentials
- 1 × Pro Stylist Trolley
- 5 × Handles
- 2 × Pull Knobs
Heat Tools & Accessories
- 1 × Heat Tool Attachment
- 4 × Screws + 4 x bolts (Phillips-head screwdriver required)
- 2 × Heat Tool Cups
- 2 × Silicone Covers (Universal hairdryer holder protectors)
- 1 × Top Silicone Mat
- 1 × Hair Extension Drawer Silicone Mat
- 1 × Top Drawer Mat
Organisation
- 2 × Detachable Dividers (Large Drawers)
- 3 × Detachable Hair Extension Combs
- 1 × Product Shelf
- 1 × Cup Holder
Hardware
- 4 × Castor Wheels
Care Tool
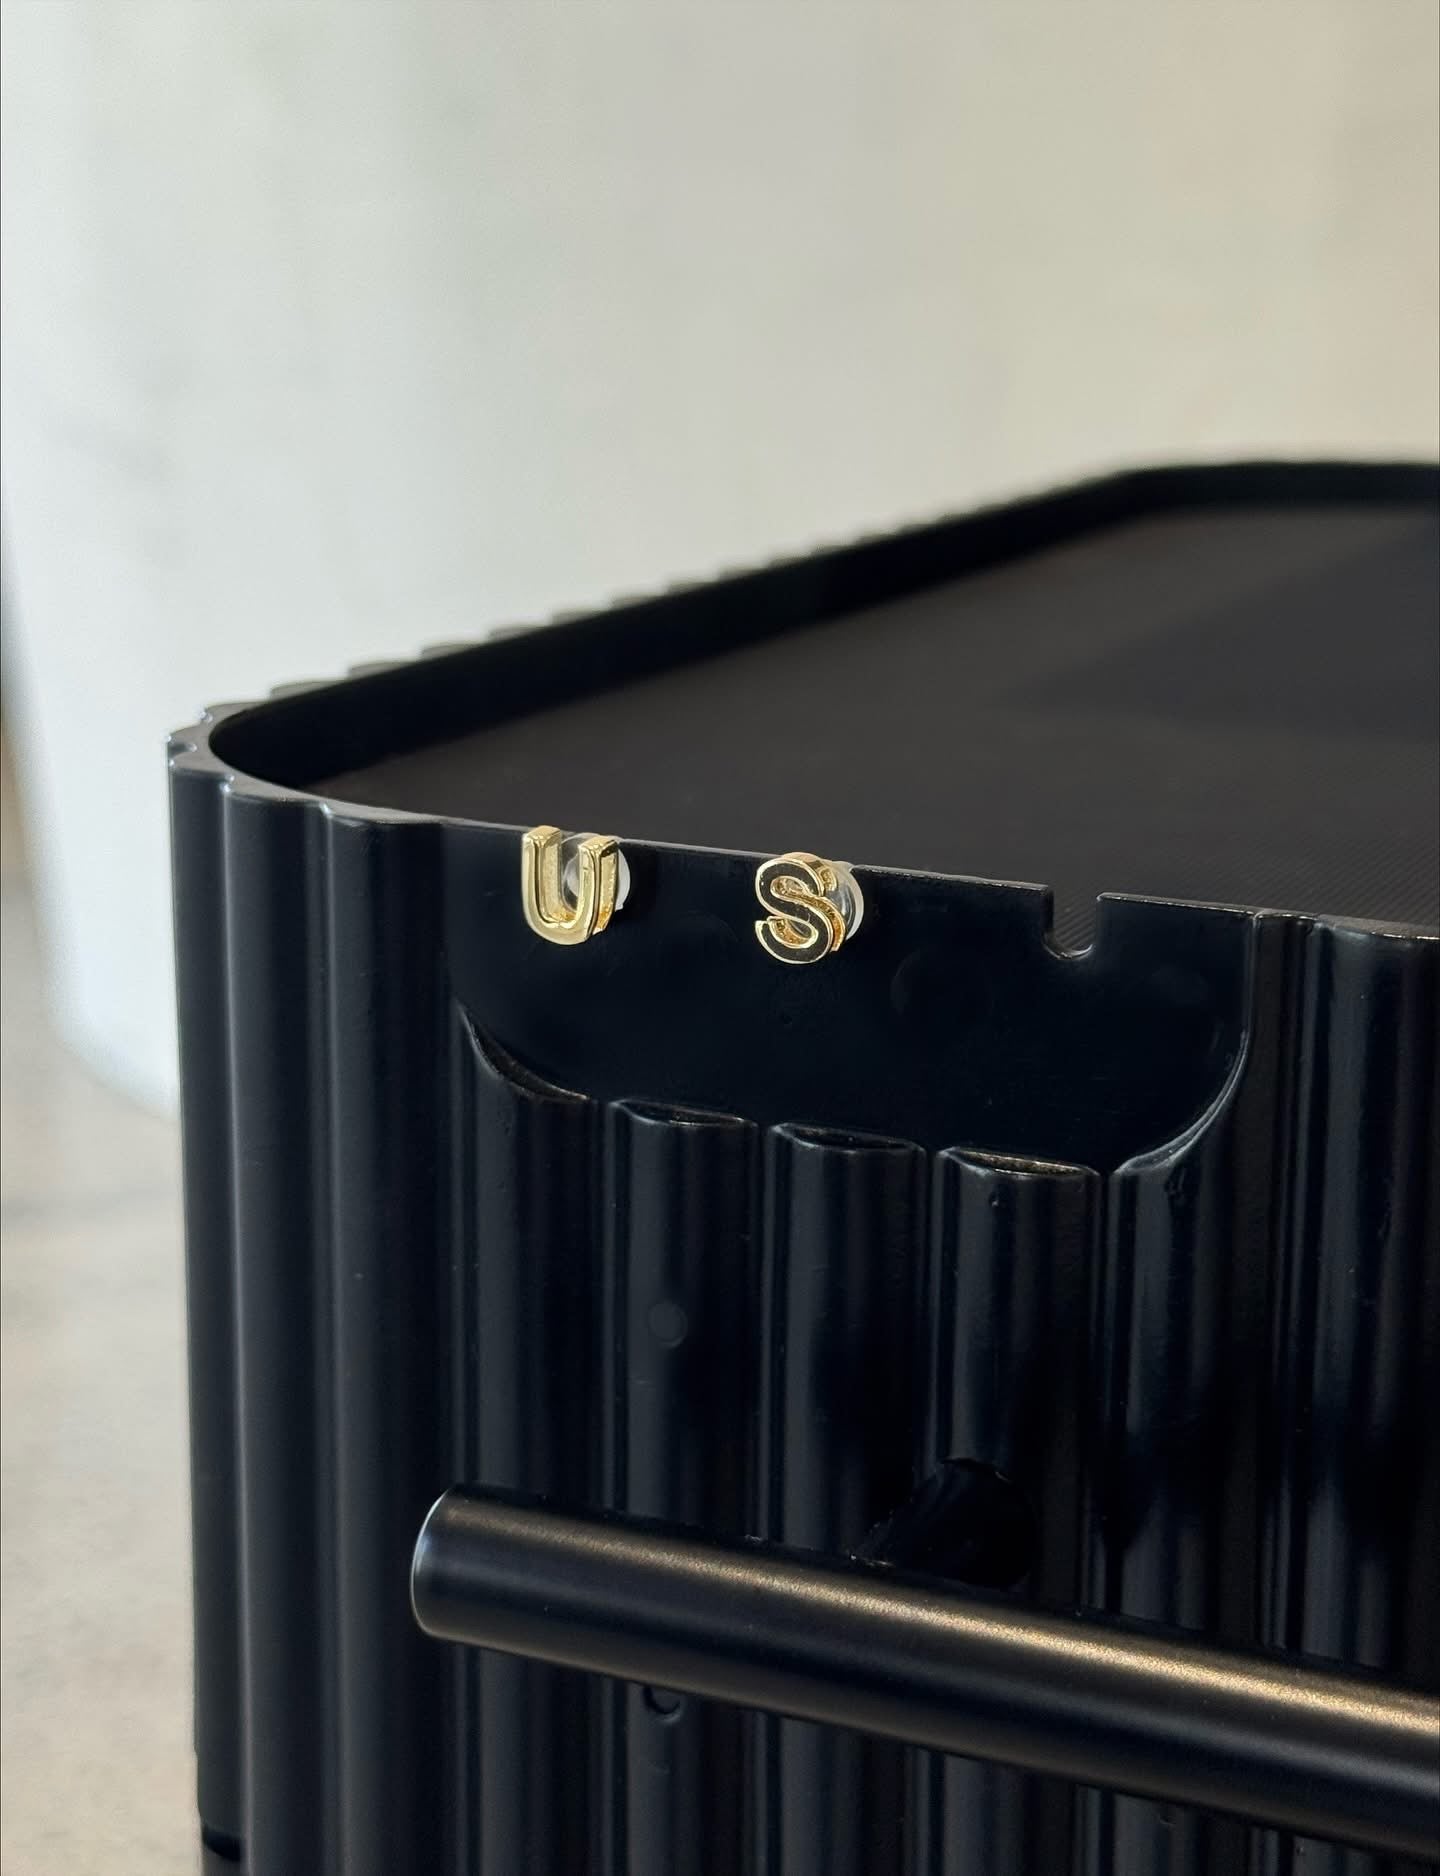
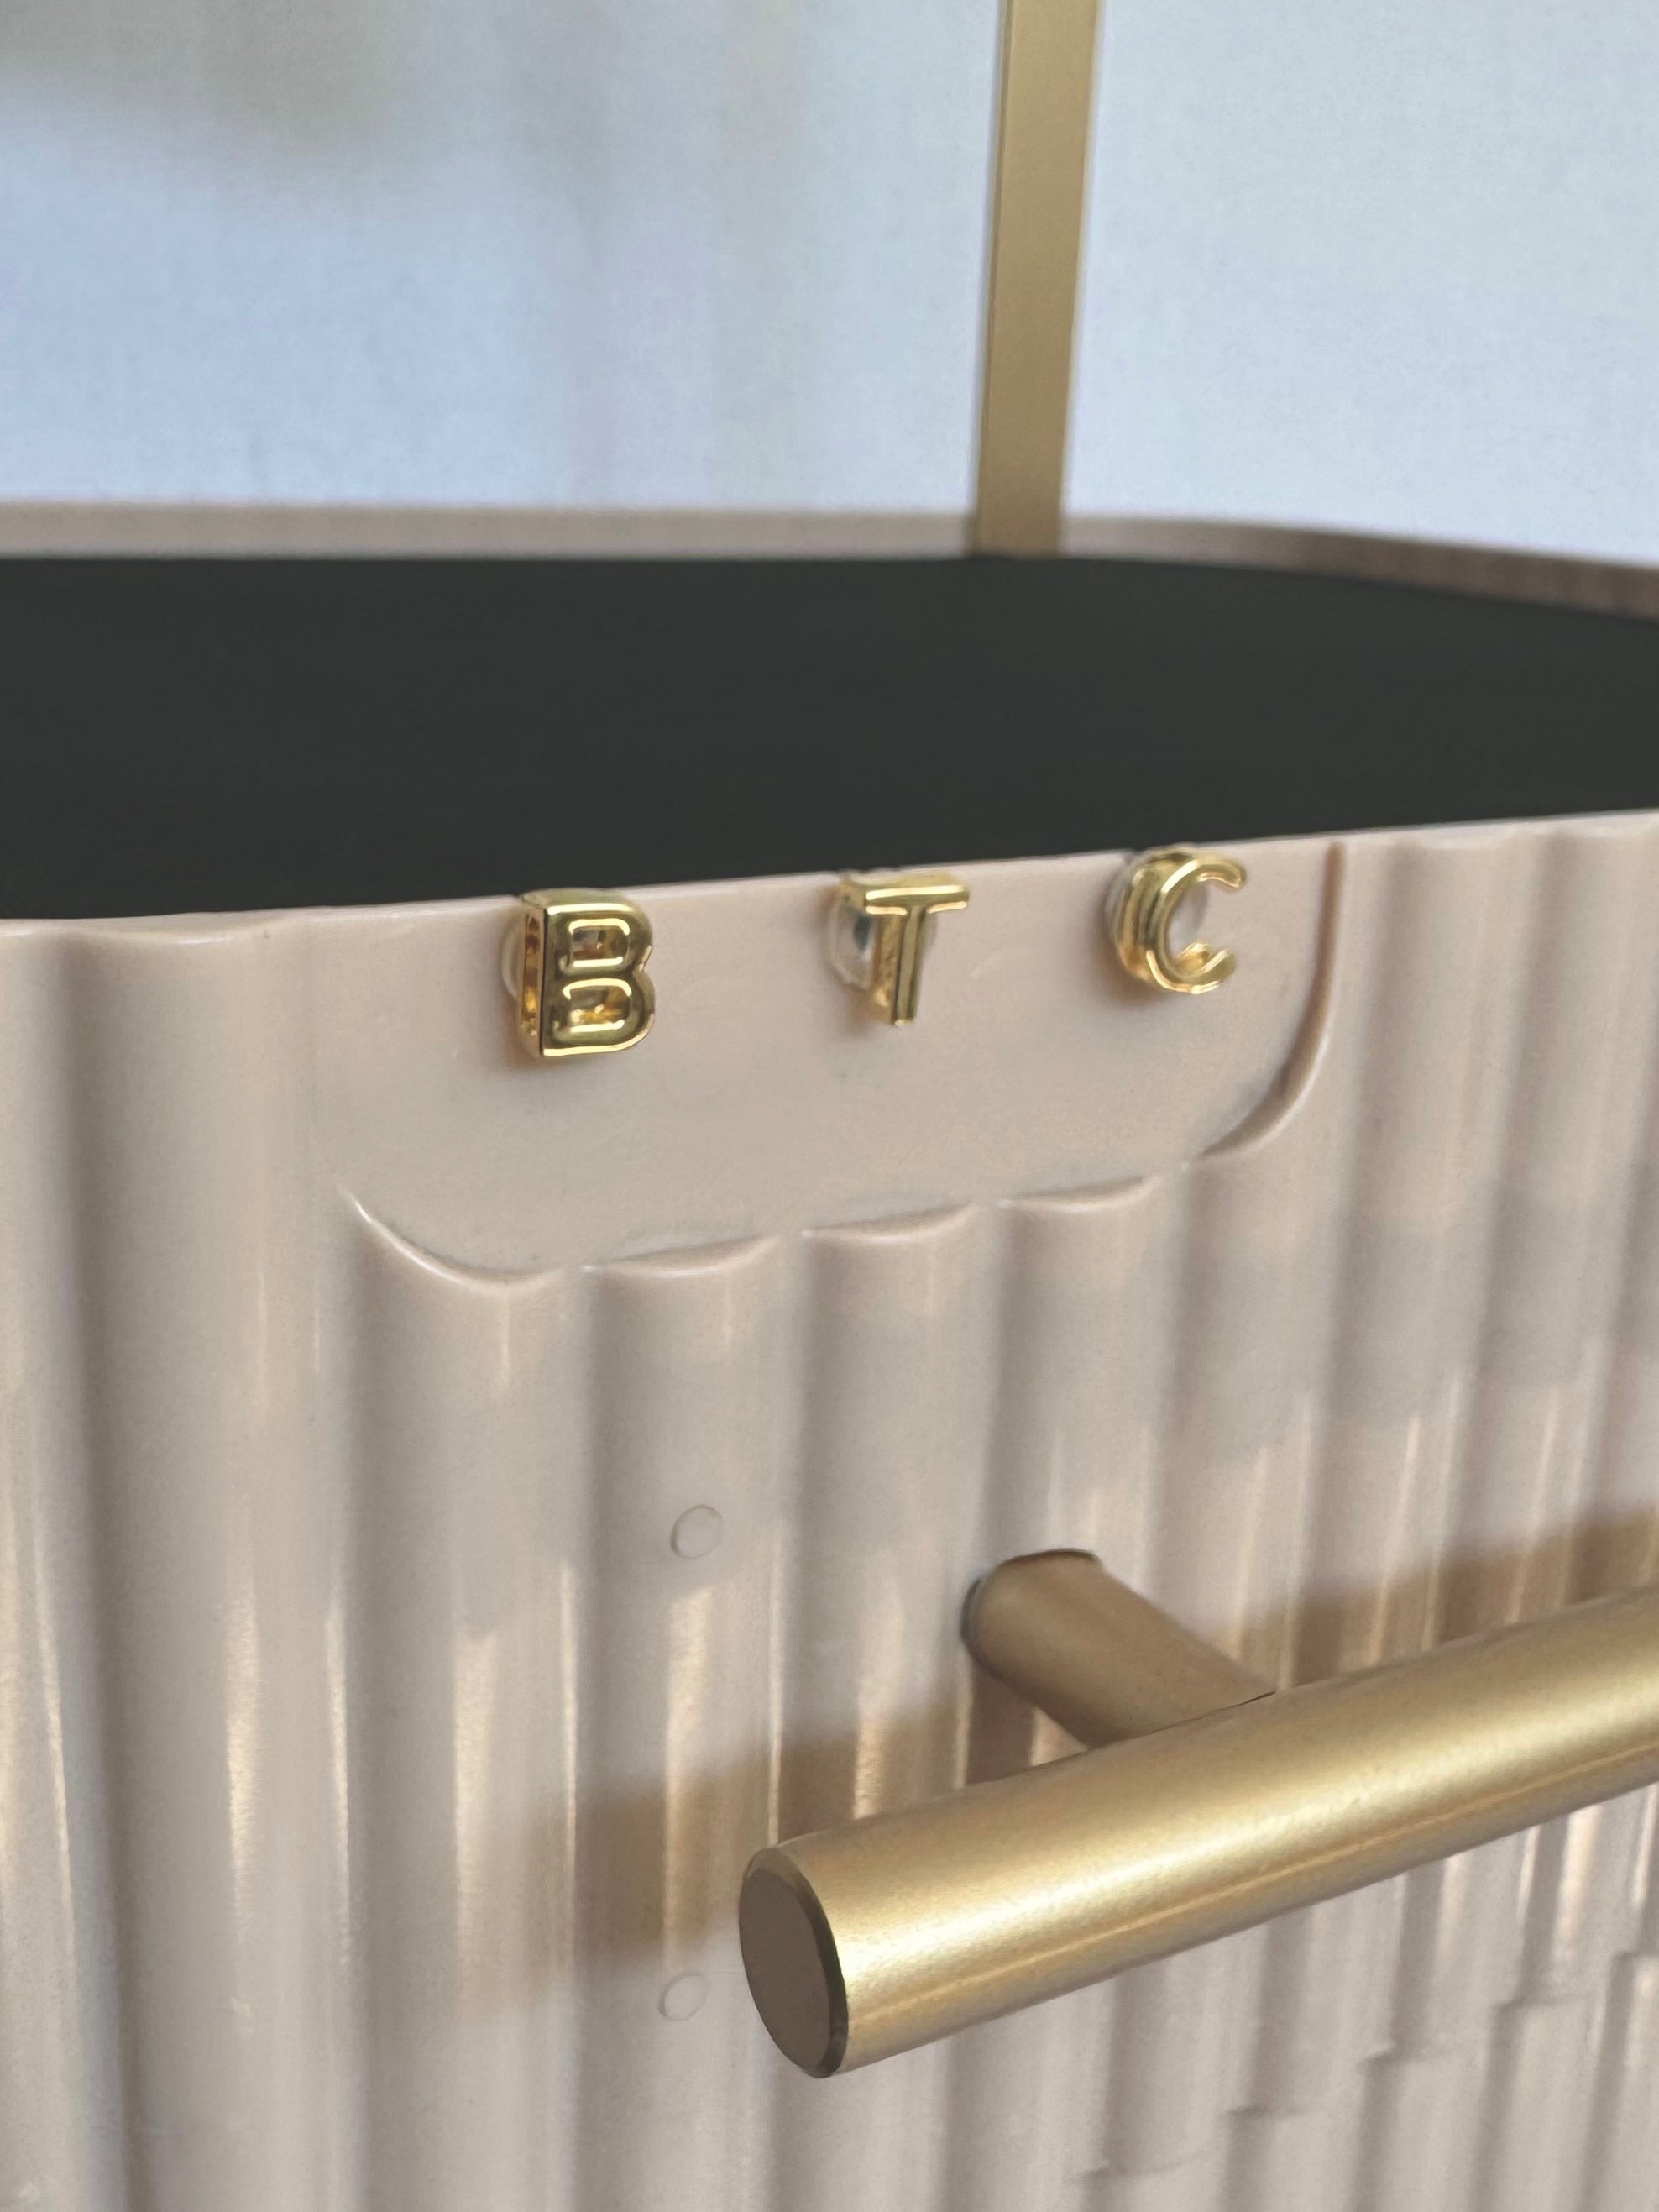
- 1 × Us. Sponge
Assembly Instructions
Before You Begin
- Remove all packaging and protective film.
- Check that all screws and accessories are included.
- Work on a clean, flat surface.
Step 1: Install the Castor Wheels
- Lay the trolley gently on its back on a soft, padded surface.
- Insert each wheel into the designated socket until you hear a secure click.
- Check that all four wheels rotate and roll freely before moving on.
Step 2: Install the Heat Tool Attachment
Remove the top two drawers
- Fully open the top drawer.
- On each side of the drawer, you’ll see the telescopic runners.
- Locate the release tabs on the runners:
- On one side, press the tab down
- On the other side, press the tab up
- While holding both tabs, gently slide the drawer straight out of the trolley.
- Repeat the same steps to remove the second drawer.
This will create the space needed to install the heat tool attachment.
Install the attachment
- Align the heat tool attachment with the two rear guide openings inside the trolley.
- Slide the attachment into position.
- Insert the 4 screws and bolts using a 🪛 Phillips-head screwdriver.
- Tighten until secure — do not overtighten.
Reinsert the drawers
- Align each drawer with the telescopic runners on both sides.
- Slide the drawers back in until they click into place.
How to build your trolley
Let's build your trolley together
Cleaning & Maintenance
Daily Cleaning
- Wipe down the trolley with a warm, damp cloth after each use.
- Follow with warm water and your Us. Sponge to maintain the stain-resistant coating and protect the surface finish.
(This cleaning method is required to ensure longevity and prevent surface damage.)
Colour & Chemical Use
Stain Resistant — Not Stain Proof
Your trolley is engineered to resist common salon chemicals, dyes, bleach and colour products.
However, colour chemistry varies globally, and no surface is completely stain-proof.
Best Practice for Preventing Stains
- Wipe spills immediately, ideally within the colour’s development time.
- Remove excess colour with a warm, damp cloth.
- Followed by your Us. Sponge + warm water for the most effective clean and to keep the coating performing at its best.
- Quick clean-ups will keep your trolley looking fresh and professional for years.
Hair Extension Drawer
- Designed specifically for installation tools, organisation and storage.
- Not recommended for use during colour services.
- Chemical exposure may affect the runners over time.
Heat Resistance
- Heat resistant up to 230°C / 446°F.
- Always place heat tools on the included silicone mats.
- Avoid placing hot tools directly on plastic surfaces.
Weight Capacity
To ensure stability and long-term performance:
- Small drawers: max 3 kg each
- Large drawers: max 4 kg each
- Large hanging pot: max 2 kg
- Small hanging pot: max 1.5 kg
- Total rail capacity: max 4 kg
- Colour bowls (set): max 1 kg
- Hair extension drawer: max 1 kg
⚠️ Do not overload the trolley.Overloading may cause tipping or damage to the runners.
Storage & Environment
- Keep away from direct sunlight and excessive heat.
- Store in a cool, dry area when not in use.
Disposal & Recycling
Your trolley is fully recyclable.
Before disposal or recycling, remove:
- Handles
- Wheels
- Heat tool attachments
- Silicone mats
Dispose of components according to your local recycling guidelines.
Warranty & Support
Warranty Information
Your Pro Stylist Trolley includes a 12-month limited warranty covering manufacturing defects.
The warranty does NOT cover:
- Wear and tear
- Chemical or heat damage due to improper use
- Overloading
- Accidental damage
- Misuse or modifications
- Stains caused by colour, bleach or chemicals
Damage caused by using unapproved cleaning products(Only warm water + the Us. Sponge are approved cleaning methods.)
Register Your Warranty
Need Help?
Our support team is here for you.Email: info@ushairofficial.com